Coding with Electronic Kits
Electronics kits are a great way for kids to understand how the digital and physical worlds can come together to make interesting inventions. Beginner projects like a blinking LED bracelet or a motor-driven windmill model are excellent starting points, where kids can experience the thrill of building something tangible while applying their coding skills.
For over fifty years, Moore’s law has set the pace for innovation and development. Today, for under $30, you can buy a programmable computer that will power robots and build games. And in the next 10 years, your kids will be able to get a lot more features for the same $30, such as augmented reality and artificial intelligence! This ease of access has spurred a generation of DIY makers and inventors worldwide.
With open source tools so readily available, there is no time like the present to join this creative movement. Makers are teaching themselves with DIY tools and creating new gadgets that have the potential to rock the future. There are a number of online resources to help you find specific tutorials, videos and recipes for all experience levels.
Here’s a handy guide for parents to understand the most popular options:
How should kids get started?
In this article, we’ll explore three popular electronics kits specially designed for kids to learn computing. These boards are generally suited for kids who want to move beyond modular electronics kits such as littleBits, Snap Circuits or LEGO Mindstorms and venture into the world of DIY electronics. Projects using these general purpose kits will require them to connect electronic components and use block-based or text-based programming. Whether your child is an absolute beginner or an avid robotics enthusiast, these inexpensive kits offer hours of learning and fun.
What kit should I choose?
With great electronic coding kits on the market like Micro:bit, Arduino boards, and Raspberry Pi, there’s something for everyone! Each board boasts its own unique features and benefits and serves young makers across many skill levels. With its simple set-up and block-based coding, beginners should opt for micro:bit. Advanced programmers can explore Arduino boards, which require knowledge of text-based programming in the language C. More advanced young programmers also love Raspberry Pi, which runs on JavaScript, C, Python or blocks.
|
micro:bit |
Arduino Board |
Raspberry Pi |
|
|---|---|---|---|
| Cost | $15 - $20 | $20 - $80 | $35 - $120 |
| Learner Type | Beginner | Advanced | Advanced |
| Summary | Hard to beat for beginners! | Versatile and recommended for text coders. | A full computer that supports more advanced projects. |
| What kind of projects will kids build? | LED displays, incorporating motion, temperature, speakers, servo control, and 2-way communication. | Networking/IoT applications, advanced LED displays, Robotics, music synthesis, and more. | Advanced computation, artificial intelligence, Bitcoin encryption, autonomous robot controllers, and more. |
| How kids code? | Block coding with MakeCode, Scratch and Tynker. MicroPython from Tynker and micro:bit. |
C programming using Arduino Online coding tools. Downloadable Arduino tool set. |
Run JavaScript, C, Python or block-coding right on the Raspberry Pi computer. |
| How to use it | Connect to micro:bit from a desktop IDE or iPad app via Bluetooth or USB. | Connect to micro:bit from a desktop IDE via USB. | Plug in monitor, keyboard and mouse to the Raspberry Pi and run programs on it directly. |
| Sample technical Specification | 32-bit ARM Cortex M0 CPU, 16KB RAM. Built-in sensors, radio serial port, and LED array. | Atmega32u4 CPU, 32KB Flash, 16MHz, serial ports. Shield extensions add WiFi, Sensors and displays. | 1.2GHz 64-bit quad-core ARM Cortex-A53 CPU, Broadcom Videocore IV GPU, 1-4GB RAM, USB and HDMI ports. |
| Type of board | Bare microcontroller without OS and apps. | Bare microcontroller without OS and apps. | A full-fledged computer with Linux OS and apps. |
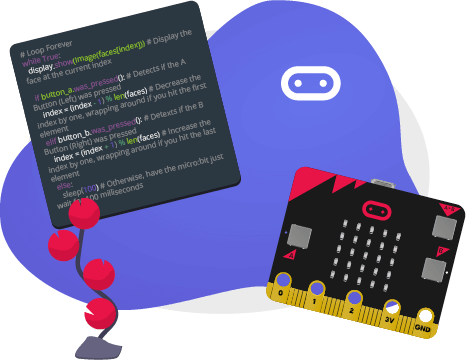
Coding with micro:bit
The micro:bit is a tiny programmable microcomputer designed by the BBC for introducing computing to kids. After a successful rollout across UK schools in 2015, software updates and worldwide distribution of micro:bit are now being managed by the Microbit Education Foundation.
The micro:bit is the best beginner board for kids because beginners can start with block-coding and more advanced learners can use MicroPython, a subset of Python, to program the board. Additionally, the micro:bit is packed with motion and temperature sensors, a compass, a communication device, buttons and a 5X5 LED grid for display. So, unlike the other boards, kids can program a number of interesting projects with no additional wires or external parts, although it is easy to expand with more sensors.
- Getting a Board - Purchase the micro:bit Go Kit that is available from Amazon, Adafruit, Sparkfun or Newark. This kit has a USB cable, battery pack and the micro:bit board. Optionally, explore micro:bit expansion kits such as Adeept sensor starter kit or the Hummingbird Bit base kit that come with external sensors, LEDs, motors, speakers and can expand the scope of your Tynker'ing!
- Block-Coding Environment - Microsoft Makecode, Tynker and Scratch offer block-based coding environments for micro:bit beginners. Makecode and Tynker support untethered autonomous modes while Scratch supports a tethered mode only.
- MycroPython Coding Environment - Tynker Code Editor and micro:bit Foundation have online MicroPython coding environments that support writing and downloading code to the device right from your browser.
- iPad Coding with Microbit - You can tether a micro:bit to an iPad using the tethered mode and this Swift Playground book or use an untethered mode with the Tynker App.
- Building your first Project - We recommend trying one of the block-coding environments and the following tutorials:
-
5 fun projects to try with micro:bit:
Coding with Arduino
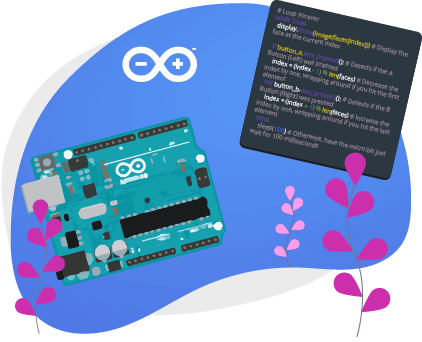
Arduino is an open source platform designed for fast prototyping and aimed at students who have no background in electronics or programming. Since its inception in 2005, there have been several versions of Arduino Boards and thousands of projects ranging from garage door openers to maze-solving robots to home automation systems.
We recommend Arduino programming for kids that are familiar with a text-programming language, such as Python or C++. To get started with Arduino, you’ll need to buy an Arduino Board, access their tools from their website, and pick a tutorial that you can get started with.
- Getting a board - You can buy an entry-level board such as the UNO ($22) or a 15-project Starter Kit ($87.90). Explore the products here.
- Programming Environment - Arduino offers web-based tools and downloadable tools that you can access by registering here.
- Building your first Project - Follow through the beginner tutorials to set up your environment and communicate with your board. Then discover a whole range of community projects and tutorials on the Arduino project hub here.
-
5 fun projects to try with micro:bit:
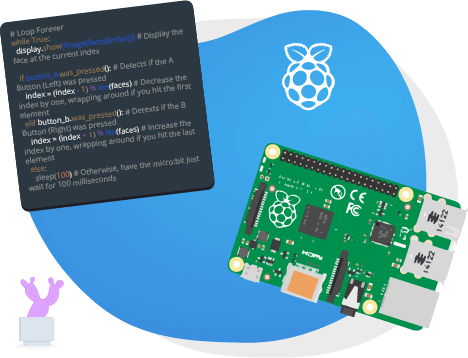
Coding with Raspberry Pi
Raspberry Pi is a credit-card sized computer developed in 2012 as a low-cost option to introduce young people to computing. Unlike Arduino boards or micro:bit, Raspberry Pi can be used as a full computer with a monitor, keyboard and mouse. Linux runs with all applications. It's possible to run Scratch, Minecraft or Python directly on the Pi.
We recommend that students get started with the micro:bit and then graduate to Arduino boards or the Raspberry Pi when they want to do more advanced projects. Even though it is possible to run block-coding on the Raspberry Pi, students can only leverage its full computing power when they are working on more advanced AI, music synthesis, or robotics projects.
- Getting a board - You can buy a kit with a case such as the Canakit Raspberry Pi Starter Kit ($100) that includes the SDRAM storage that you’ll need to boot the operating system. You’ll also need a keyboard, mouse and monitor, since the Raspberry Pi is the computer that you will be working with.
- Programming Environment - You’ll need to download the operating system (OS) from here. Raspberry Pi can run many operating systems like a computer, several programming languages such as Scratch, Python, JavaScript or C are available. Once you are comfortable with the standard software, you may also try other specialized third-party party OS images such as Windows 10 IoT core, Ubuntu MATE or Mozilla WebThings, depending on the needs of your project.
- Building your first Project - There are a number of projects to get started on Raspberry Pi on this page. Use the filtering options to select a project that matches your interests and experience level.
-
5 fun projects to try with micro:bit: